Les projets de VE2CUY
Project 4 – SW tube receiver
Document converti depuis ve2cuy.com/blog — dernière modification : 2010-05-23
Update – 22.05.2010
I did a little work on the project:
Replaced 10.7 “IF” cans by 455kc ones.
Selected all 12 volt filament tubes: 12BE6 (converter), 12BA6 (IF), 12AV6 (DET, AVC, AF-PRE) and 12BA6 (AF-AMP).
Fixed B+ at 20 volt (-12 + 12 from an ATX-Power supply). Current is around 4ma (yep!).
Heaters current = 650ma.
I am starting to get results from it!
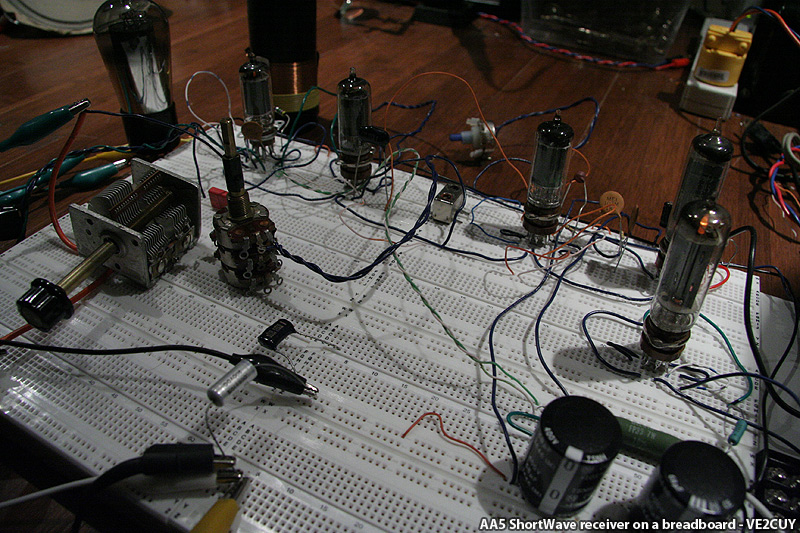
.
▶️ Vidéo YouTube : Voir la vidéo
Schematic – version 1
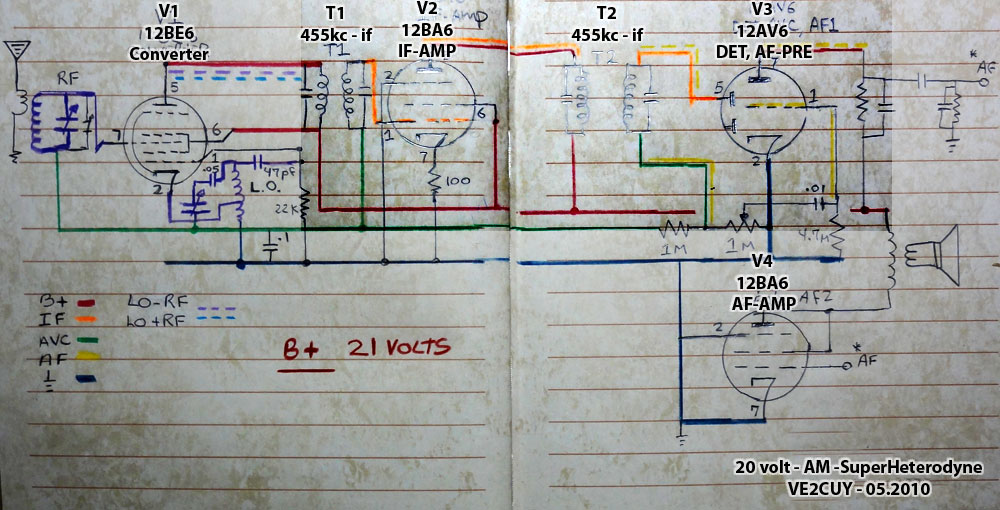
Next steps:
– add rf amp stage
– add a third “IF” stage (done)
– add a magic eye tube on the AVC signal (done – but wont make it to the final version)
– add a regeneration stage on V2 (not shure any more …)
Update – 28.05.2010
With the initial concept, I was thinking of a 50C5 35W4 12BE6 12AU6 12AV6 alignment with 10.7 IF.
Finally, I decided that it was too usual and I did not want it to be 117volts live.
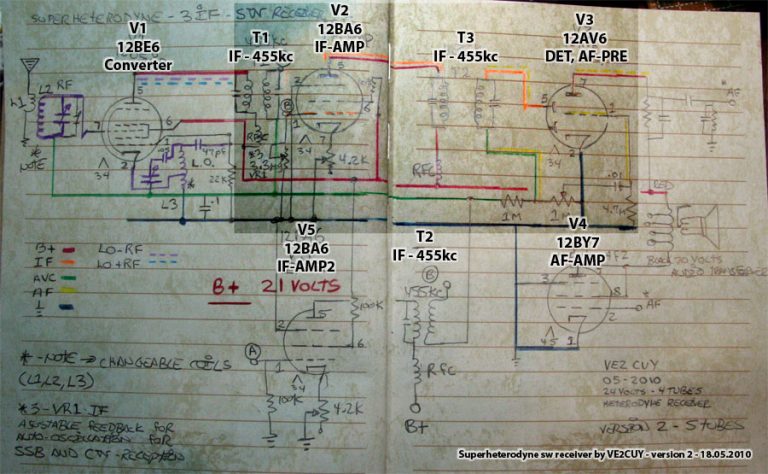
So, the actual state of the project is:
Tubes: 12BE6 (converter), 12BA6 (IF1), 12BA6 (IF2), 12AV6 (DET) and 12BY7 (AF-AMP – It as a better sound than a 12BA6),
2 x IF stages,
3 x 455kc transformers used in transistor radios,
Controlled auto-Oscillation of the first IF-AMP (BFO) for SSB and CW reception,
Interchangeable L1, L2 and L3 for multiband,
Very low (24volts – from an ATX power supply: +12 + -12) B+. I did some tests with 12volts and it works very well with headphones.
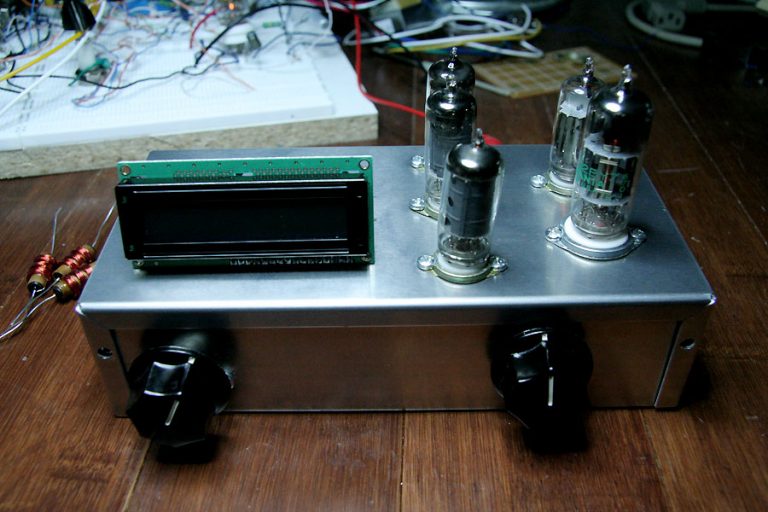
I will add a frequency counter on the converter tube (LO – IF) to display the reception frequency using a 74HC161 and an Arduino board to drive Nixie tubes or a LCD display.
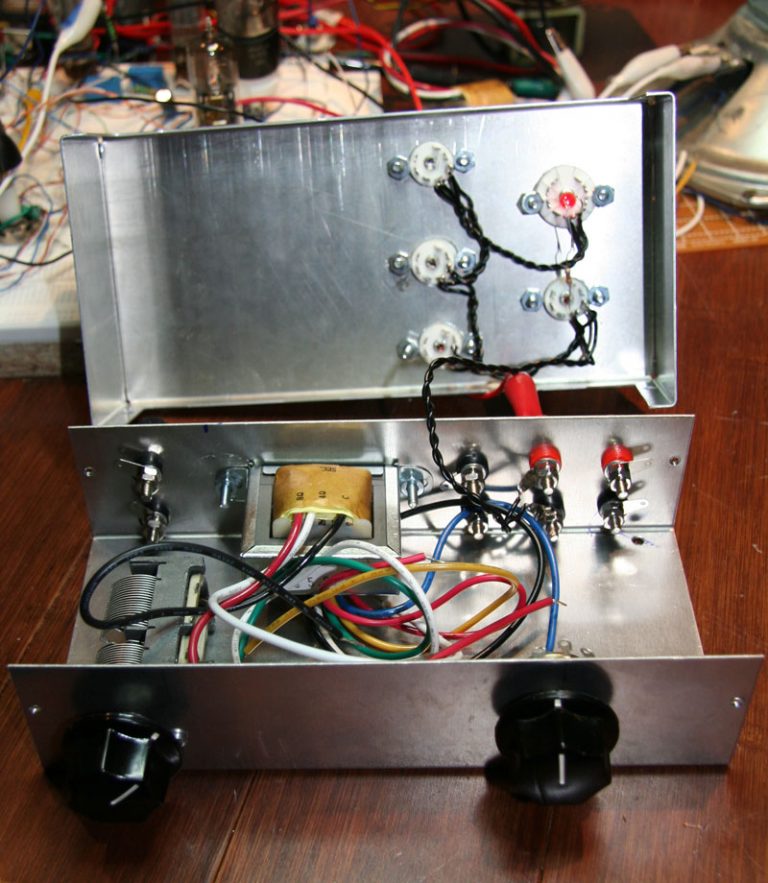
Looking at the following picture, I understand why I love those tube radio projects; they are so great in the dark…
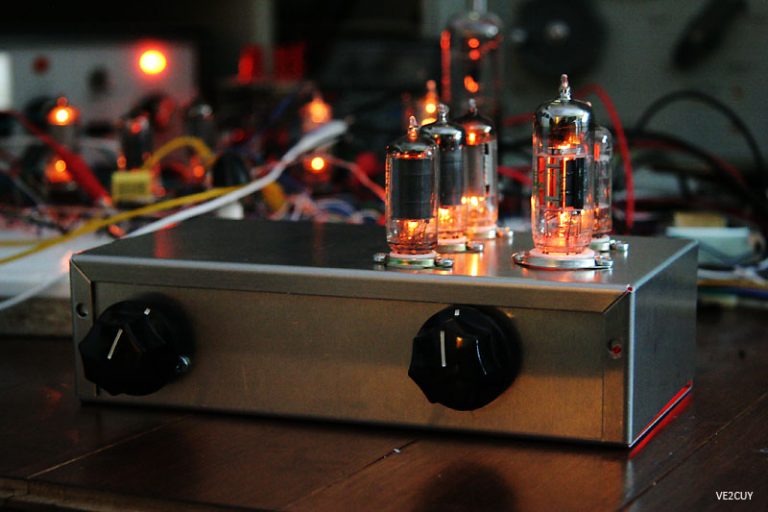
Nixie or LCD ? …
Schematic – version 2
Update 20.06.2010
I’ve made some progress on my 5 tubes shortwave radio.
The frequency counter prototype is working.
I’m using a MPF102 as an RF amp, then the signal is feed in a 74HC161 (16x prescaler) and finally into an atmega328p for counting.
See the frequency counter at work:
▶️ Vidéo YouTube : Voir la vidéo
=====================
Source code:
=====================
/*
Project: Frequency counter for the 5 tubes (3 IF) homemade shortwave receiver
By: VE2CUY – Alain Boudreault
Date: June 2010
*/#include
#include #include #include //#define __debug
// initialize the library with the numbers of the interface pins
LiquidCrystal lcd(12, 11, 3, 2, 1, 0);// Read fz input via Atmega328 pin 11 (arduino digital 5)
void setup() {
lcd.begin(16, 2);
lcd.print(« L.O. frequency »);#ifdef __debug
Serial.begin(57600); // connect to the serial port
Serial.println(« Test fz counter »);
#endif
lcd.clear();
delay(500);
}long int frq;
void aff_number(long int number){
long int divider = 100000;
long int reminder;
int digit;for (int i=0;i<6;i++){ reminder = number % divider; digit = (number – reminder) / divider; #ifdef __debug Serial.print(digit); #endif lcd.print(digit, DEC); if ( i == 1 || i == 4) { // format -> 00.000.0 #ifdef __debug Serial.print(« . »); #endif lcd.print(« . »); } number=reminder; divider/=10; } // for i #ifdef __debug Serial.println( » MHz »); #endif lcd.print( » MHz « );} // void aff_number
void loop() {
FreqCounter::f_comp=1;
FreqCounter::start(10);while (FreqCounter::f_ready == 0){ frq=FreqCounter::f_freq; } lcd.setCursor(0, 0); lcd.print(« LO: »); frq\*=16; // Adjust for prescaler frq+=90; //frequency fine tuning aff_number(frq); lcd.setCursor(0, 1); lcd.print(« FZ: »); aff_number(frq-4550); //IF = 455KC }